Academy -> Sessions -> + Add Session
Attention to the following Steps:
Step 1:
Session Mode:
Private: you'll choose the target in step 3 and only those will be able to see and register in this session.
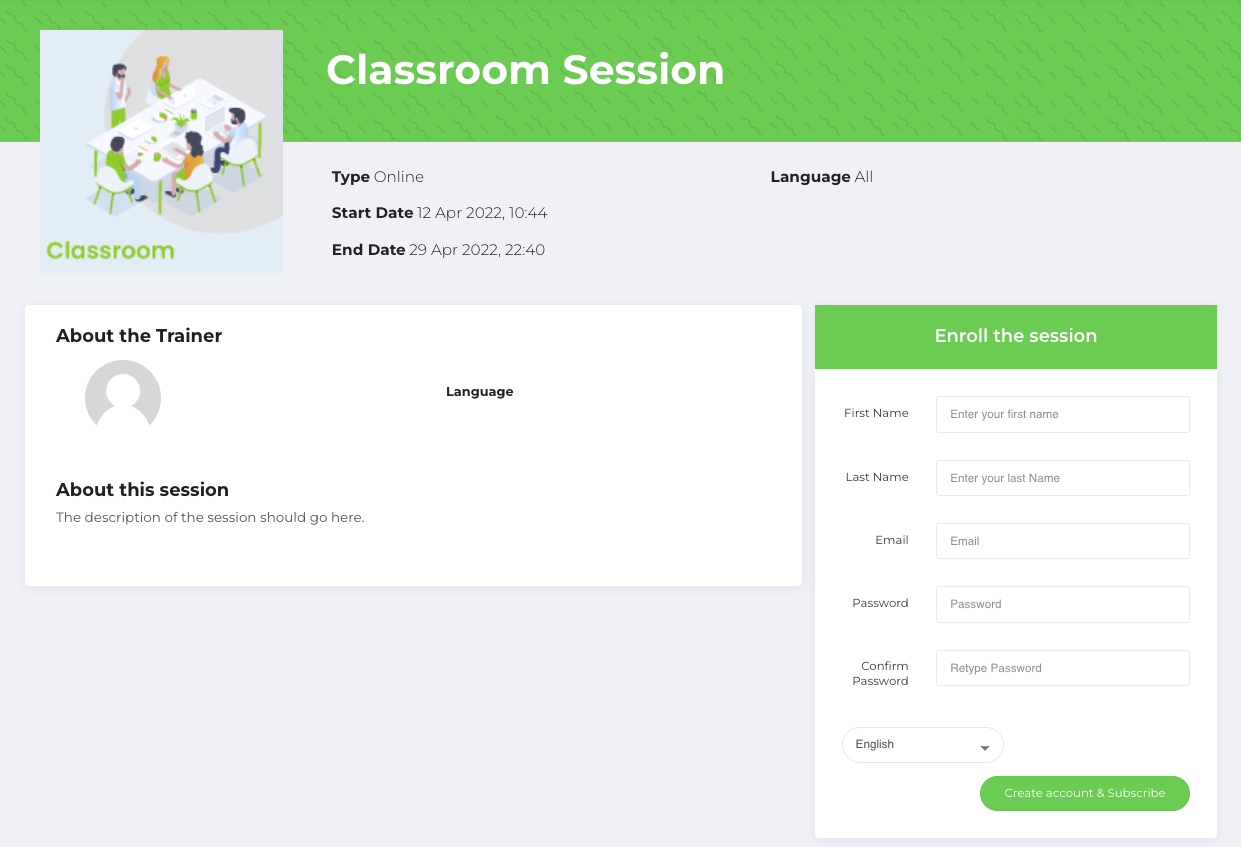
Public: set the minimum and maximum number of participants and everyone can see and register for this session. If the user is not registered in the organization, he will see a form for registration on the session page.
Status field:
"Draft": Sessions still in development and not yet submitted for registrations. Not visible to the common user.
"Lead": requested by clients or created by the admin but not already validated -> not visible in the user portal
"Planned": validated sessions that are planned to happen in the future-> visible in user portal and available for registrations.
"Confirmed": Planned Sessions that reached the minimum number of users or were validated by the Owner.
"Canceled": sessions that were canceled
Name: insert a name for the session
Summary: insert a summary for the session
Description: insert a description of the session
Assignee is the manager of the Session, the one responsible to set everything up
Category: select a type of category
Image: insert an image that will represent the session
Language: select the language
Available countries: Choose the countries where the Session will be available in
Currency: choose the currency
Content accessible before payment checkbox: By selecting this option the content will be accessible before the payment is approved
Price: if you want to set a Free Session, you should leave this field blank
Promotional Price: if you want to create a discount on the Session's Price
Promo Start Date: define the start date for the promo
Promo End Date: define the end date for the promo
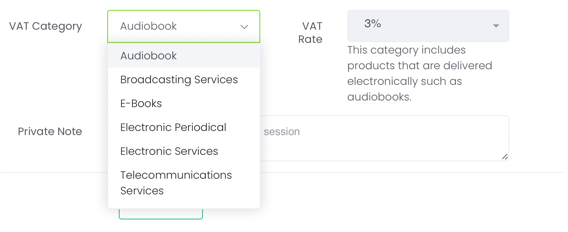
VAT Category: If you select one of these categories the VAT Rate will be calculated automatically
Private note: if you want some private notes about the session

Step 2:
Chose the option Webinar and insert the link where this Session will happen and chose the Trainer and Host (optional).

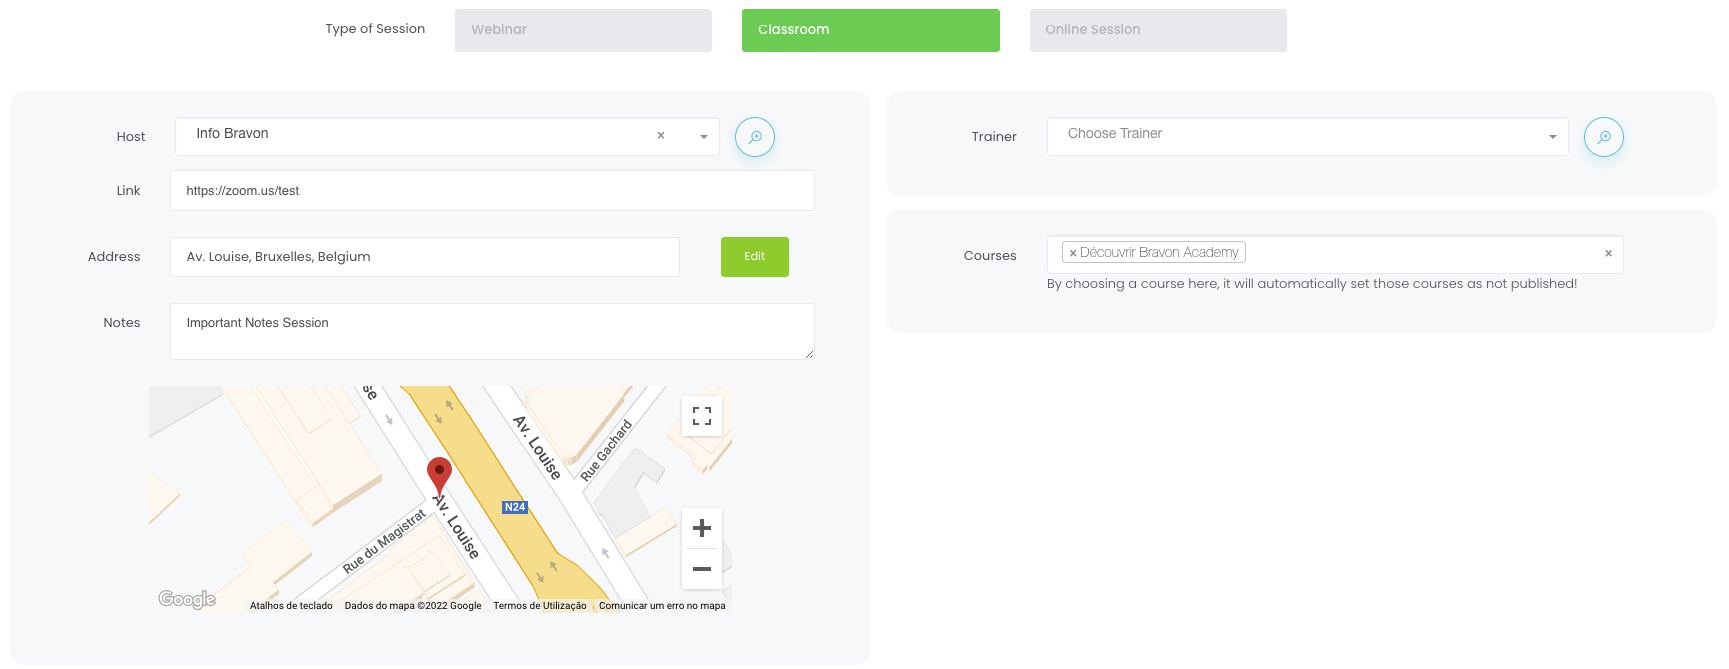
Chose the option Classroom and chose the Trainer, Host, Place Location, Address and if needed add Notes and a helpful Link. You'll also be invited to select the Courses the trainer will have access to for free during the Session.

Chose the option Online Session and chose the Trainer (optional), Course or/and Journey.

Step 3:
Beware that if you selected the Session as Public you'll only be able to set a maximum and minimum of participants. All users would be able to see and purchase/register in this session.
If Private, you will have to target by Team, Users or invite new users by email. Note that if you leave these fields blank no one will be able to see and join the Session.
Step 4:
Chose the start and end date of the Session. You can also provide a confirmation link activation by selecting the time at which the link/QRCode will be available after the session's start date.
Step 5:
In the last step you can:
Add a survey to the end of the Session (this survey should be prepared in advance and will be available on the user dashboard)
Attach documents your users will need for the Session (available on the session page).

Join a Free Session
Attention to the following Steps:
Academy -> Sessions -> Open Session:
If Webinar Session: -> Subscribe
If Online Session: -> Open Session
If Classroom: -> Open Session - Subscribe
Join a Paid Session
Attention to the following Steps:
Academy -> Sessions -> Open Session -> Enroll -> Checkout Process -> Complete order:
If Webinar Session -> Join Webinar -> Confirm Participation (Open the QR CODE or click ‘’confirm participation’’)
If Classroom Session -> See Session Details
If Online Session -> Open Session

Join a Paid Public Session for Users not Registered
Attention to the following Steps:
Session Link -> Form (Create account & Subscribe) -> Add New Card -> Add Card -> Confirm -> Join Session
Join a Free Public Session for Users not Registered
Attention to the following Steps:
Session Link -> Form (Create account & Subscribe) -> Join Session
